Introduction
Installing a metal roof is a significant investment that requires careful planning and precise execution. One of the most crucial steps in this process is taking accurate measurements. Without proper measurements, you risk ordering too much or too little material, leading to wasted resources, increased costs, and potential installation issues. Whether you’re doing the project yourself or working with professional roofing contractors, understanding how to measure for metal roofing panels is key to a smooth and efficient installation.
In this detailed guide, we’ll walk you through the steps to measure your roof accurately, discuss the tools you’ll need, and highlight tips to ensure a smooth process.
Why Accurate Measurements Matter?
Accurate measurements are the foundation of a successful metal roofing installation, ensuring the process is smooth and efficient. By ordering the correct amount of metal roofing material, you eliminate the risk of shortages or excess, saving valuable time and resources. Additionally, accurate calculations help you avoid over-purchasing materials, keeping your project within budget.
Precise measurements also ensure seamless installation, allowing metal panels to align perfectly for optimal appearance and functionality. Properly measured and installed metal roofs are more durable and better equipped to withstand weather-related challenges, significantly improving their overall lifespan. Taking the time to measure accurately ensures that your roofing project is cost-effective while achieving a polished, professional-quality finish.
Tools You’ll Need for Metal Roofing Measurements
Gather the following tools before starting the measurement process:
1. Measuring Tape: Essential for obtaining precise dimensions of your roof.
2. Ladder: Use a sturdy ladder to access your roof safely.
3. Notebook and Pencil: Record all measurements and calculations for reference.
4. Roofing Square: Helps measure angles and ensure straight lines for an accurate roof plan.
5. Calculator: Needed for calculating areas, slopes, and square footage.
6. Level: Use to measure the roof’s pitch or slope.
7. Safety Gear: Includes gloves, non-slip shoes, and a harness for safe roof access.
Having the right tools ensures accuracy and efficiency throughout the process.
Steps to Measure for Metal Roofing
Precise measurements are essential for ensuring your metal roofing project is smooth and cost-effective. Follow these detailed steps to calculate dimensions accurately and avoid material shortages or waste.
Step 1 – Measure Roof Dimensions
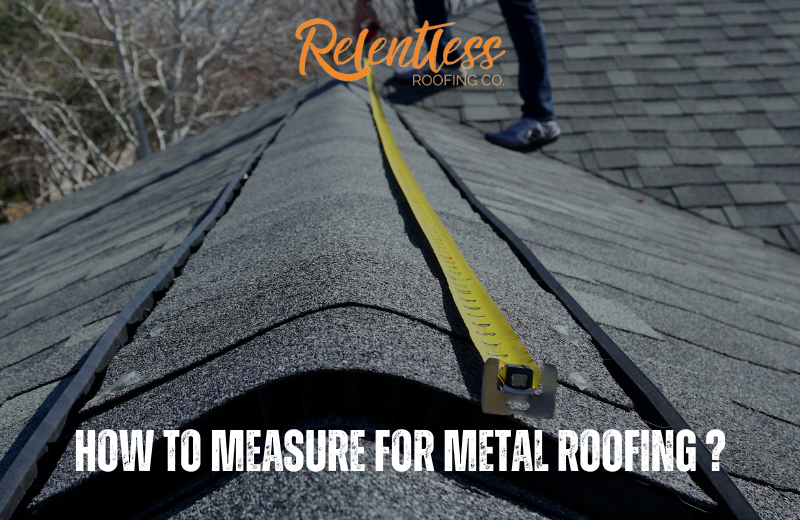
The first step in measuring for a metal roof is to assess each section of your roof, commonly referred to as roof planes. Most roofs are composed of various shapes, typically including rectangular and triangular sections.
For rectangular sections, measure the length and width of each area to determine its dimensions. For triangular sections, measure the base and the vertical height (the distance from the base to the peak). It is essential to clearly record all measurements in a notebook, ensuring that each section is properly labeled for easy reference during calculations.
Step 2 – Determine Roof Pitch
Step 3 – Calculate Roof Area
Step 4 – Adjust for Roof Pitch
Since roofs are sloped, it’s important to adjust the total area using a pitch factor to account for the incline. The pitch factor varies based on the roof’s slope; for instance, a 4/12 pitch corresponds to 1.054, a 6/12 pitch is 1.118, and an 8/12 pitch is 1.202.
To calculate the adjusted area, use the formula: Adjusted Area = Total Area × Pitch Factor. For example, if the total area of your roof is 1,200 square feet with a 6/12 pitch, multiply 1,200 by 1.118, resulting in an adjusted area of 1,341.6 square feet.
Step 5 – Include Roof Overhangs
Roof overhangs protect walls from weather elements and must be included in your measurements. Measure the depth of the overhang and add it to the length and width of each roof section.
Step 6 – Account for Material Waste
When installing metal panels, some material will be wasted due to cutting and overlapping. Add 10–15% to your total adjusted area to account for this wastage.
Step 7 – Select the Right Metal Roofing Material
The calculated dimensions will help guide your selection of metal roofing material to ensure an efficient and complete installation. Common materials to consider include aluminum, steel, copper, or zinc, each offering unique benefits in durability and appearance.
Additionally, choose a panel style that suits your project’s needs, such as standing seam, corrugated metal, or ribbed panels. Be sure to include essential accessories in your order, such as fasteners, flashing, ridge caps, and any other components necessary for a seamless installation. Proper planning ensures your materials align perfectly with your roof’s dimensions and requirements.
Example Calculation
Let’s calculate an example to determine the total area for a roof with multiple sections. Suppose the roof has the following measurements: Section 1 measures 30 feet by 20 feet, while Section 2 measures 25 feet by 15 feet. Additionally, Section 3 is triangular, measuring 20 feet by 10 feet.
Calculations:
Section 1: 30 ft. × 20 ft. = 600 sq. ft.
Section 2: 25 ft. × 15 ft. = 375 sq. ft.
Section 3 (Triangle): 20 ft. × 10 ft. ÷ 2 = 100 sq. ft.
Total Area: 600 + 375 + 100 = 1,075 sq. ft.
Adjust for a 6/12 Pitch: 1,075 × 1.118 = 1,201.35 sq. ft.
Include 10% Waste: 1,201.35 × 1.10 = 1,321.5 sq. ft.
Based on these calculations, you should order enough metal roofing material to cover about 1,322 square feet to ensure proper coverage and minimal waste.
Tips for Accurate Measurement
Accurate measurement is the foundation of a successful metal roofing installation. To achieve precise results, follow these tips:
Work with a Partner: Measuring a roof can be a complex task that is safer and more accurate when done with assistance. A partner can help hold the measuring tape, steady the ladder, or verify calculations. This teamwork not only improves accuracy but also ensures safety, especially when working on sloped or uneven roof planes.
Double-Check Measurements: It’s always better to measure twice and cut once. Recheck all dimensions, including lengths, widths, and angles, to avoid costly errors. This step is particularly crucial for calculating square footage and roof pitch, as mistakes in these calculations can lead to material shortages or excess.
Use Safety Equipment: Safety is paramount when working on any roofing project, especially on sloped roofs or at significant heights. Wear non-slip shoes, gloves, and a harness to reduce the risk of accidents. A sturdy ladder and clear workspace also contribute to a secure environment during the measurement process.
Consult a Professional Roofing Contractor: If the process seems overwhelming or your roof has complex features like multiple roof slopes, valleys, or dormers, consult a professional roofing contractor. Experienced contractors can take accurate measurements and provide precise estimates for your metal roofing material, ensuring a smooth and efficient project.
Common Mistakes to Avoid
Accurate measurements are essential, but certain oversights can derail your efforts. Avoid these common pitfalls when measuring for metal roofing panels:
Ignoring Roof Pitch: The roof pitch determines the actual surface area of your roof. Neglecting to calculate the slope can lead to significant underestimation of material needs. Always use a level to measure the vertical rise and calculate the pitch factor for precise adjustments.
Excluding Overhangs: Roof overhangs provide essential protection from rain and weather but are often overlooked during measurements. Failing to account for these extensions can leave areas exposed or result in insufficient materials for a complete installation.
Underestimating Material Waste
Installing metal roofing panels involves cutting and overlapping, which generates waste. Underestimating this wastage can delay the project and increase costs. Always add 10–15% to your material calculations to ensure you have enough for the entire roofing project, including any unexpected errors or adjustments.
Frequently Asked Questions About Metal Roofing
1. How long does a metal roof last?
Metal roofs are known for their exceptional durability, often lasting 40 to 70 years or more with proper maintenance. Their longevity depends on the material used, installation quality, and local weather conditions.
2. Is a metal roof noisy during rain or hail?
With proper insulation and underlayment, metal roofs are no noisier than other roofing types. Modern installation techniques ensure minimal sound during rain or hail, providing a quiet and comfortable environment.
3. Can a metal roof be installed over an existing roof?
Yes, metal roofs can often be installed over an existing shingle roof, saving time and reducing disposal costs. However, a professional inspection is necessary to ensure the existing structure can support the additional weight.
4. Which is more energy efficient: metal roof or shingles roof?
Metal roofs are more energy-efficient than shingle roofs due to their reflective properties, which reduce heat absorption and lower cooling costs. Their compatibility with cool roof coatings and insulation further enhances energy savings, especially in warmer climates.
5. Can you paint a metal roof ?
Conclusion
Measuring for metal roofing requires careful planning, precise tools, and attention to detail. From calculating the roof’s square footage to accounting for pitch, overhangs, and material waste, every step ensures a smooth and successful installation. Getting these measurements right helps you save time, reduce costs, and achieve a durable result.


