
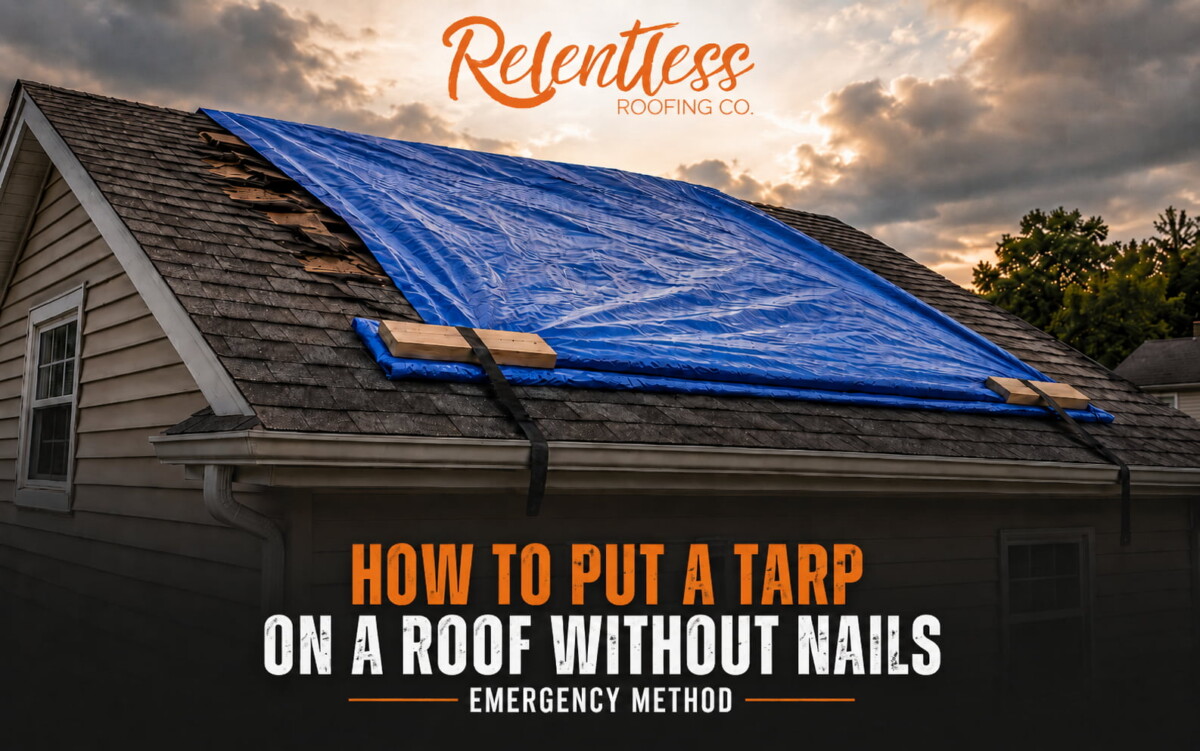
The safest way to handle how to put a tarp on roof without nails is to cover the damaged area, weigh or tie down the tarp, and avoid making new holes. This is only emergency roof protection. It helps protect your home until a roofer can inspect the damage and make permanent repairs.
Introduction
A tarp can slow water intrusion after roof leaks, missing shingles, fallen branches, or storm damage. The goal is not to “fix” the roof. The goal is to keep rain from reaching the open area while you wait for proper repair work.
No-nail roof tarping is a load-control job. The tarp must stay down, shed water, and resist wind lift. That means you should choose the method based on roof slope, damage size, wind exposure, and safe anchor surfaces. If any part of the job feels unsafe, stop and call a roofer.
Key Takeaway
A no-nail roof tarp works best when the method matches the roof condition.
- Use sandbags or weighted bags on safer low-slope areas.
- Use a wrap-and-weight method when the tarp can go over the roof peak.
- Use rope or bungee cords only with strong anchor points.
- Avoid gutters because they can pull loose under tension.
- Use a heavy-duty tarp that extends at least 4 feet beyond the damaged area.
- Stop if the roof is wet, steep, unstable, windy, or near power lines.
Why Nail-Free Roof Tarping Matters After a Leak or Storm Damage
Nail-free roof tarping matters because nails and screws can create new leak paths. A damaged roof is already weak. If you drive a nail or screw through shingles, flashing, tile, or metal roofing material, you may give water another place to enter.
Storm damage can make shingles brittle. It can also weaken roof decking, roof framing, and nearby roof features. A nail or screw may feel like a quick way to fasten the tarp, but it can leave repair problems after the tarp is removed.
A tarp without nails is a safer emergency solution when the damage is small, the roof surface is stable, and the weather has calmed. It helps protect your roof without adding new punctures. It should still be treated as temporary protection, not permanent repair.
Safety First: When You Should Not Attempt to Place a Tarp
Do not attempt to place a tarp if the roof is wet, steep, unstable, windy, or close to electrical hazards. Safety should decide the next step before materials, tarp size, or fastening methods.
Use this checklist before any tarp installation:
- Do not climb during rain, snow, lightning, or high winds.
- Stay away from downed power lines and damaged electrical service.
- Do not walk on a tarp because it can slide under your feet.
- Do not step on sagging, soft, or cracked roof decking.
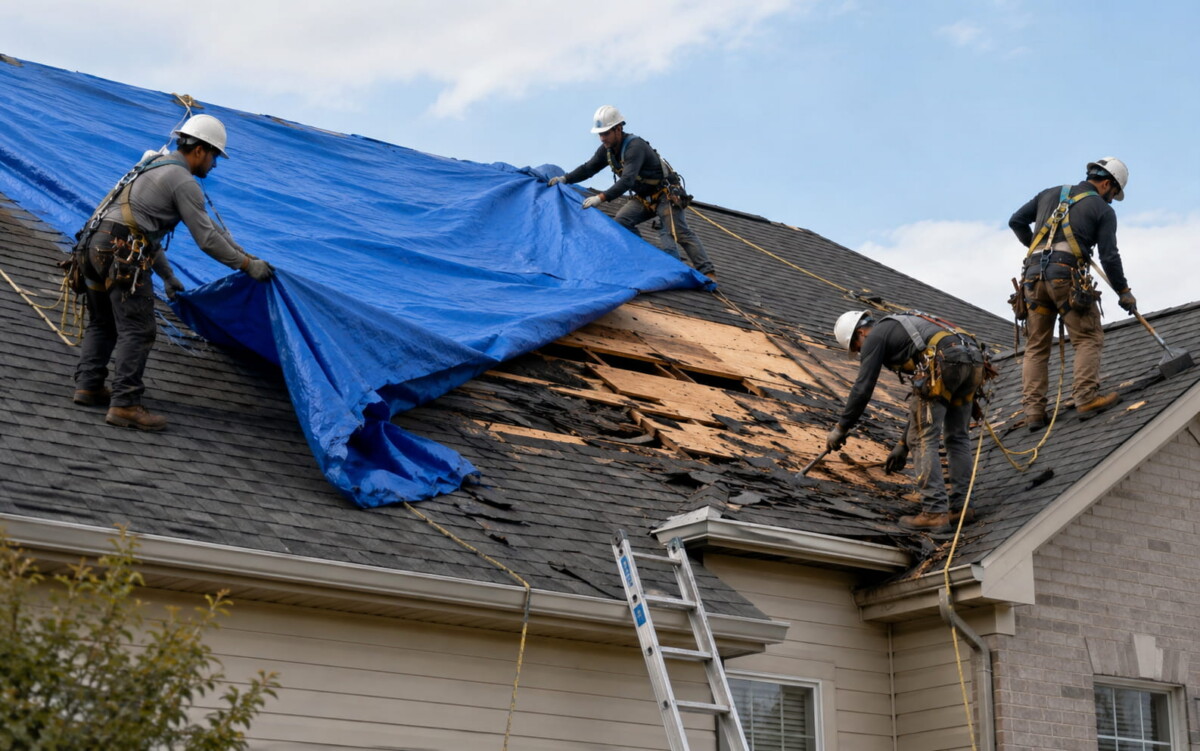
- Do not work alone if roof access is needed.
- Do not use weak gutters as anchor points.
- Call a roofer if the roof has major structural damage.
A damaged roof can look safer than it is. Missing shingles may hide soft decking. Broken branches may hide holes. If you cannot reach the area from a secure ladder, let a professional roofer handle it.
Good Tarp Materials, Size, and Overlap Rules for Temporary Roof Protection
A good tarp should be heavy-duty, weather-resistant, and large enough to cover the damaged roof with extra space on all sides. Size matters because wind-driven rain can enter if the tarp ends too close to the leak.
You may need:
- Heavy-duty tarp, often 6-mil or thicker
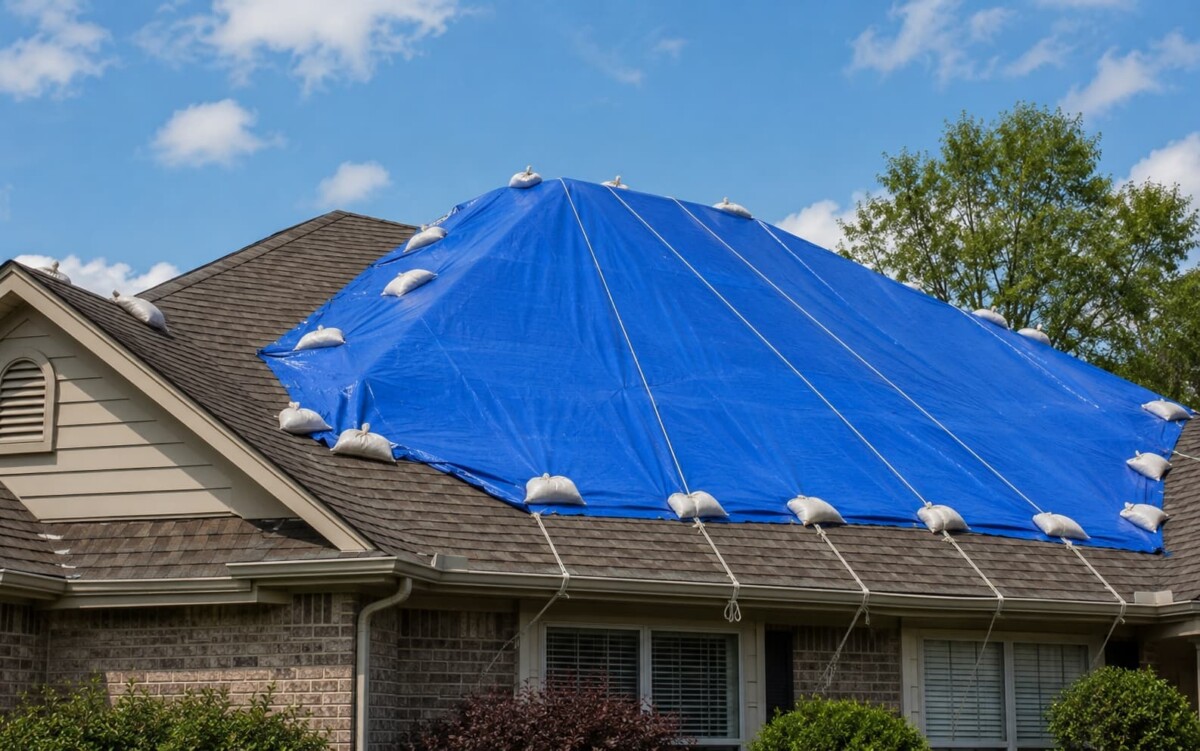
- Sandbags or weighted bags
- 2×4 boards or a piece of lumber for wrapped edges
- Rope, bungee cords, straps, or tarp clips
- Roofing tape or adhesive for small edge gaps
- Ladder, gloves, non-slip shoes, and measuring tape
- Camera or phone for insurance company photos
The tarp should extend at least 4 feet beyond the damaged area when possible. If the roof slope allows, run the tarp over the roof peak. This helps water flow down the tarp instead of under the upper edge.
Best Nail-Free Tarping Methods by Roof Condition
The best method depends on the roof condition. Sandbags control edges. Ridge wrapping helps guide runoff. Rope and bungee cords add tension. Adhesive can help with small dry edges, but it should not be trusted as the only hold in bad weather.
| Method | Best For | What It Solves | Main Risk |
| Sandbags or weighted bags | Low-slope or safer roof areas | Stops edge lift | Weak in high winds |
| Wrap-and-weight method | Sloped roofs with safe ridge access | Helps water run off | Unsafe on steep roofs |
| Rope or bungee cords | Roofs with strong anchor points | Adds tension | Weak anchors can fail |
| Adhesive roof tarp | Small dry areas | Helps seal edges | Poor hold on dirty or wet surfaces |
Do not treat these methods as equal. A sandbag tarp method may work on a low-slope roof, but it may fail on a steep roof with wind exposure. Rope may help only if the anchor point is solid. The method should match the hazard.
Step-by-Step: How to Put a Tarp on a Roof Without Nails
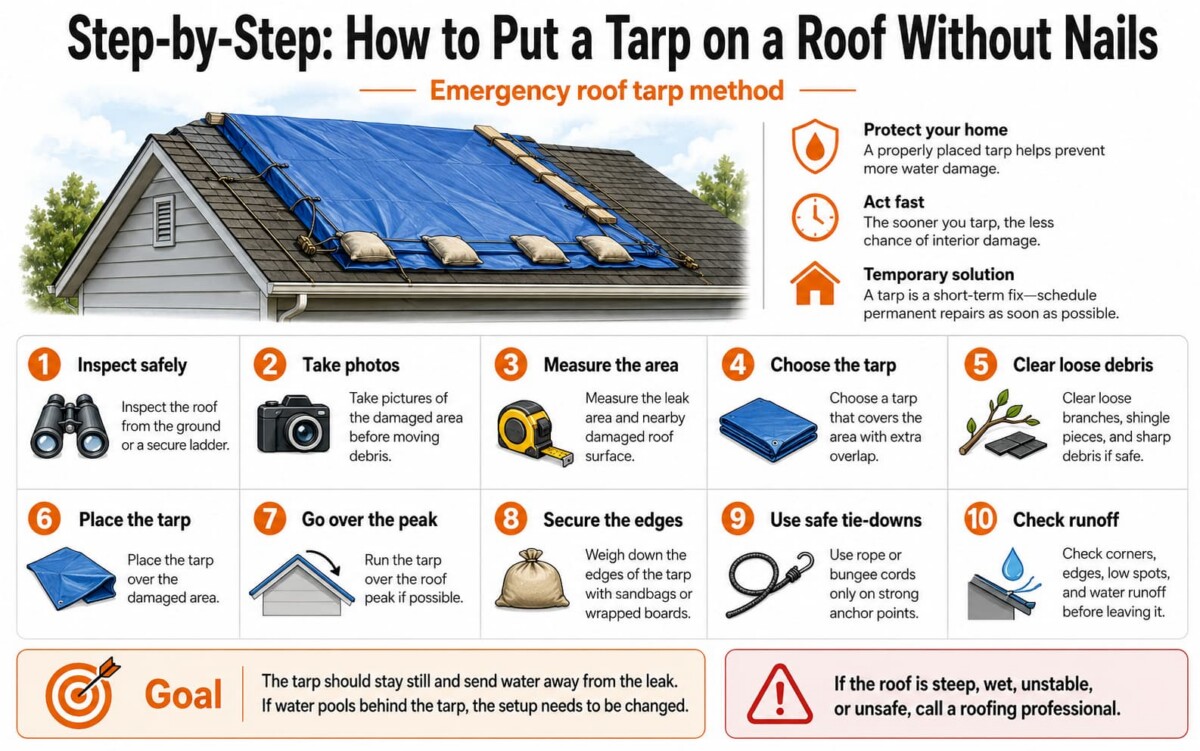
To put a tarp on a roof without nails, inspect safely, take photos, clear loose debris, place the tarp over the damaged area, extend it past the leak, secure the edges, and check how water will run off.
- Inspect the roof from the ground or a secure ladder.
- Take pictures of the damaged area before moving debris.
- Measure the leak area and nearby damaged roof surface.
- Choose a tarp that covers the area with extra overlap.
- Clear loose branches, shingle pieces, and sharp debris if safe.
- Place the tarp over the damaged area.
- Run the tarp over the roof peak if possible.
- Weigh down the edges of the tarp with sandbags or wrapped boards.
- Use rope or bungee cords only on strong anchor points.
- Check corners, edges, low spots, and water runoff before leaving it.
The goal is simple. The tarp should stay still and send water away from the leak. If water pools behind the tarp, the setup needs to be changed.
Common Mistakes That Can Make a Nail-Free Roof Tarp Fail
A nail-free roof tarp usually fails because the tarp is too small, the edges are weak, the water has nowhere to go, or the anchor point cannot hold tension.
Using Too Small of a Tarp
A tarp that only covers the visible hole may still leak. Rain can enter from the top edge or sides. Use a big tarp that extends well beyond the damage.
Placing Weights in the Wrong Spots
Weights in the middle do little to stop wind lift. Wind gets under corners and edges first. Place sandbags or heavy objects along the edges, corners, and lower side.
Letting Water Pool Behind the Tarp
A tight tarp can still fail if it creates a water dam. Water should move off the roof, not sit above the damaged area. Sagging pockets can pull the tarp loose and push water under the cover.
Tying to Gutters or Weak Features
Gutters are not strong anchor points. A gust can pull them loose and move the tarp at the same time. Use only stable anchor surfaces. If none are available, call a roofer.
What Happens After the Tarp Is Installed?
After the tarp is installed, check it from the ground after rain or wind. Look for flapping edges, shifted sandbags, sagging pockets, loose rope, and new water stains inside the home. These signs mean the tarp may not be holding or shedding water correctly.
Leave the tarp on your roof for as little time as possible. Sun, wind, and rain can weaken the material. A tarp that looked secure on day one may loosen after bad weather. If it tears, slides, or starts holding water, it may need to be reset by a roofer.
Take photos before and after tarping. Save receipts for the tarp, sandbags, rope, adhesive, and any emergency help. Also check ceilings, attic areas, and walls near the leak. These records may help when speaking with your insurance company about water intrusion, storm damage, and permanent repairs.
Conclusion
Knowing how to put a tarp on a roof without nails can help protect your home after a leak or storm damage. The safest method depends on roof slope, damage size, wind risk, and anchor quality. Use enough overlap, control the edges, and guide water away from the leak.
Before you begin, think of the tarp as short-term protection, not a full repair. The goal is to reduce water intrusion without adding new holes to the roof. If the roof is wet, steep, unstable, or near electrical hazards, stop and call a roofer. A safe professional repair is always better than a risky emergency setup.
You May Also Want to Read
You may also want to read:
- Signs You Need Roof Repair After a Storm
https://relentlessroofingco.com/signs-you-need-roof-repair-after-a-storm/ - The Ultimate Guide to Filing a Roofing Insurance Claim
https://relentlessroofingco.com/the-ultimate-guide-to-filing-a-roofing-insurance-claim/
FAQs
What is the best way to hold a tarp down on a roof without nails?
The best way depends on the roof. Sandbags work well on safer low-slope areas. A wrap-and-weight method can help on sloped roofs if access is safe. Rope or bungee cords help only when tied to strong anchor points.
Can sandbags keep a roof tarp in place during wind?
Sandbags can help in light to moderate wind, mainly along corners and edges. They may fail in high winds because air can lift the tarp between weights. If strong wind is expected, call a roofer.
Should a tarp go over the roof peak?
Yes, if it is safe and possible. A tarp over the roof peak helps water run down the tarp instead of under the upper edge. This reduces the chance of water reaching the damaged area.
How do you secure a tarp around a chimney without nails?
Keep the chimney opening clear and seal tarp edges carefully around the flashing area. This is hard to do well. If the leak is near a chimney, a roofer is often the safer option.
When should a roofer handle emergency roof tarping?
Call a roofer if the roof is steep, wet, unstable, badly damaged, or near power lines. A roofer should also handle large tarps, tricky roof features, and setups that must hold during rough weather.