
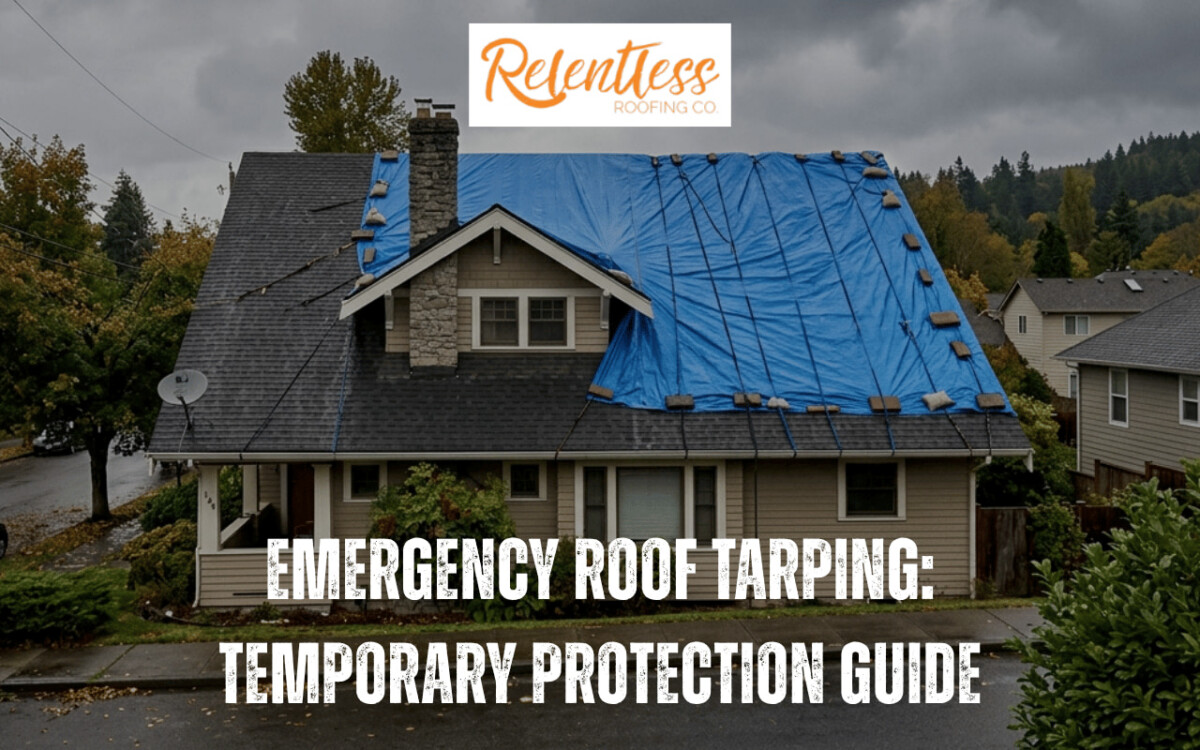
Emergency roof tarping is a short-term roof covering used after storm damage, a roof leak, fallen debris, or sudden roof failure. It helps stop water intrusion until permanent repair work can be done. The first 0–72 hours matter because your choices can affect safety, mold risk, repair costs, and homeowners insurance claims.
Introduction
Emergency roof tarping helps protect your home when a roof is open to rain, wind, or debris. It is not a full repair. It is a temporary barrier that buys time until a contractor can inspect the roof and plan permanent repairs.
The smartest response follows three lines of defense: your safety, damage control, and insurance documentation. You need to stay off unsafe roofs, slow water damage, and document what happened before and after the tarp is installed.
Safety reminder: never climb on a wet, steep, sagging, storm-damaged, or icy roof. Stop and call a professional.
Key Takeaway
Emergency roof tarping works best when it is done fast, safely, and with clear documentation.
Key points to know:
- Use roof tarping to stop active leaks and prevent further damage.
- Take photos before any temporary protection is installed.
- Do not wait for an adjuster if water is entering the home.
- Avoid DIY tarping on steep roofs, high roofs, or damaged roof decking.
- Call a contractor when safety, water damage, or insurance claims are at risk.
- Treat the tarp as short-term protection, not a final fix.
What Is Emergency Roof Tarping and Why Does It Matter After Roof Damage?
Emergency roof tarping is the process of placing and securing a roof tarp over a damaged area to block rain, wind-driven water, and debris. It matters because even a small roof opening can let water travel through underlayment, roof decking, rafters, insulation, and ceiling drywall.
This kind of temporary repair protects the damage-control line. Once water enters, it may not drip straight down. It can move along framing and appear in another room. That is why a ceiling stain may not sit directly under the roof leak.
Mold can begin growing on wet materials within about 24–48 hours if moisture is not controlled. Delayed emergency roof tarping can turn a shingle repair into attic drying, drywall repair, mold remediation, and higher repair costs.
You may need tarping after wind damage, hail impact, missing shingles, flashing failure, fire damage, fallen limbs, or active leaks. The tarp does not fix the roof. It helps stabilize the situation until the real repair begins.
When Does Roof Damage Require an Emergency Roof Tarp?
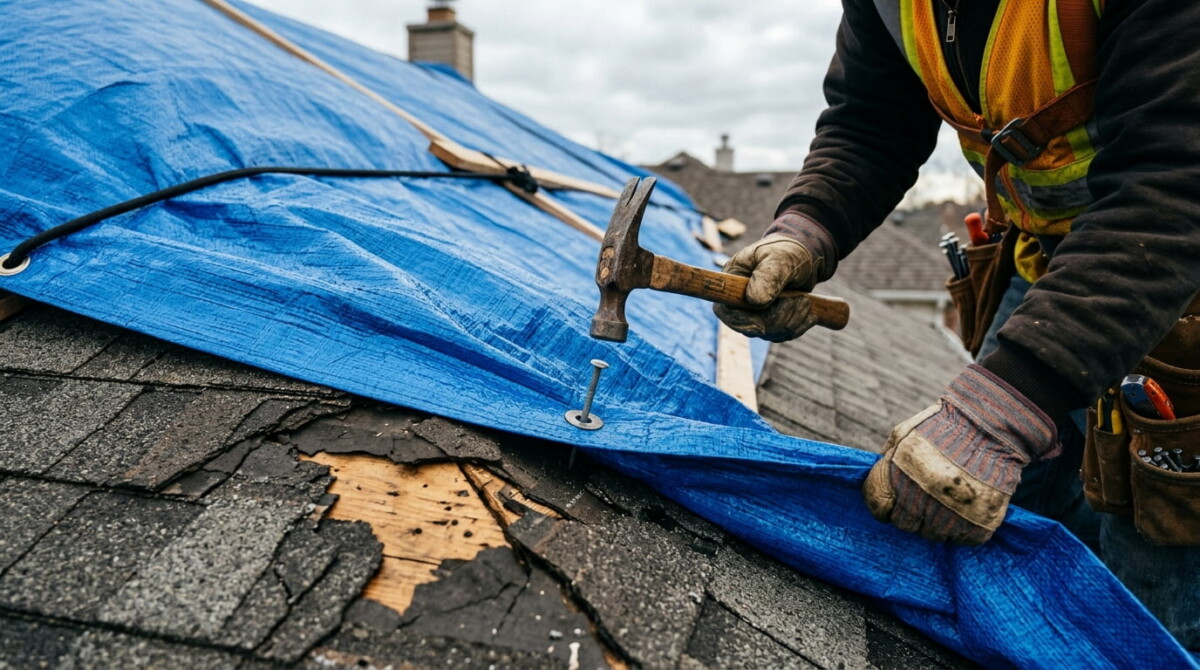
Roof damage needs an emergency roof tarp when water can enter the home now or during the next storm. This includes missing shingles, exposed roof decking, punctures, torn flashing, fallen tree damage, fire-damaged sections, and active leaks. Some problems look small from the ground but still need fast temporary protection.
Storm Damage, High Winds, and Missing Shingles
High winds can lift shingles and break their seal. Rain may then push under the roofing material. You may notice missing shingles, loose tabs, or wet attic insulation. This stresses the damage-control line because water can enter quickly.
Fallen Trees, Flying Debris, and Roof Punctures
Branches and debris can puncture shingles, underlayment, and decking. If you see a hole, sag, or daylight in the attic, do not climb the roof. This is a safety-line problem first.
Fire Damage, Active Leaks, and Sudden Roof Failure
Fire can weaken framing and decking. Active leaks can soak drywall and electrical areas. Sudden sagging or ceiling bowing means the structure may be unsafe. Leave the area and call for emergency response.
First Steps After Roof Damage: Stay Safe, Stop Water, and Document Damage
After roof damage, your first job is to protect people, reduce water damage, and document the loss. Do not rush onto the roof. A safe, well-documented response can help prevent further damage and support your insurance claim without putting anyone at risk.
- Check if the home is safe. Leave rooms with sagging ceilings, exposed wiring, gas smells, or falling debris.
- Look from the ground first. Do not walk on wet shingles, steep slopes, ice, or areas near power lines.
- Take photos before tarping. Capture wide shots, close-ups, interior water stains, damaged belongings, and debris impact points.
- Record notes. Write the date, storm time, leak location, and any emergency action taken.
- Move furniture and electronics away from leaks. Use buckets only as a short-term interior step.
- Save every receipt. Keep records for tarps, plastic sheeting, emergency service, and contractor invoices.
- Contact your insurance provider. Ask for a claim number and next steps.
Do not wait for the adjuster if water is actively entering. Document first, then mitigate.
DIY Emergency Roof Tarping vs Calling a Contractor: Which Is Safer?
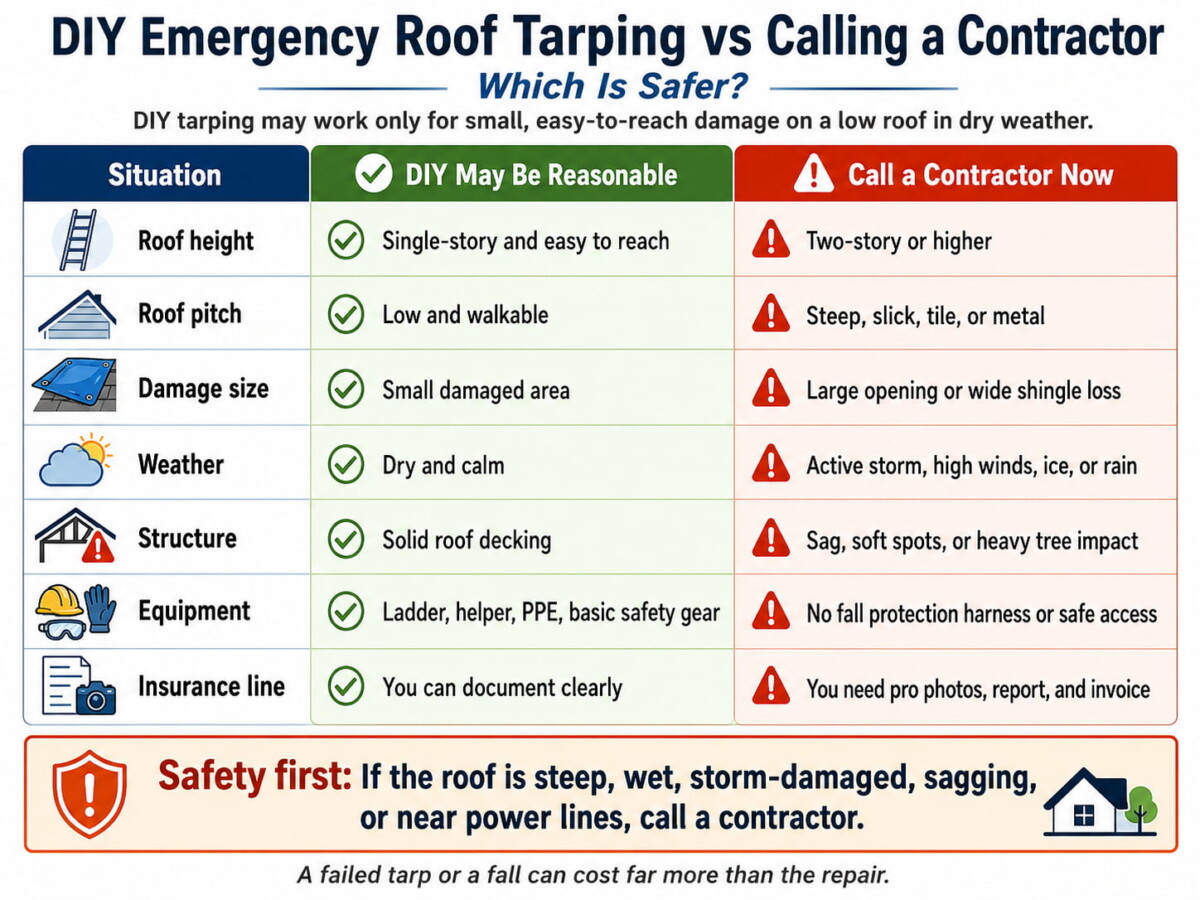
DIY emergency roof tarping may be reasonable only for small, easy-to-reach damage on a low roof in dry weather. Call a contractor if the roof is steep, high, wet, sagging, storm-damaged, or near power lines. The cheapest option can become costly if the tarp fails or someone gets hurt.
| Situation | DIY May Be Reasonable | Call a Contractor Now |
| Roof height | Single-story and easy to reach | Two-story or higher |
| Roof pitch | Low and walkable | Steep, slick, tile, or metal |
| Damage size | Small damaged area | Large opening or wide shingle loss |
| Weather | Dry and calm | Active storm, high winds, ice, or rain |
| Structure | Solid roof decking | Sag, soft spots, or heavy tree impact |
| Equipment | Ladder, helper, PPE, basic safety gear | No fall protection harness or safe access |
| Insurance line | You can document clearly | You need pro photos, report, and invoice |
A contractor brings a trained crew, safer access methods, better materials, and clearer paperwork. That helps your safety line, damage line, and insurance line at the same time.
How to Temporarily Cover a Leaking Roof With a Tarp
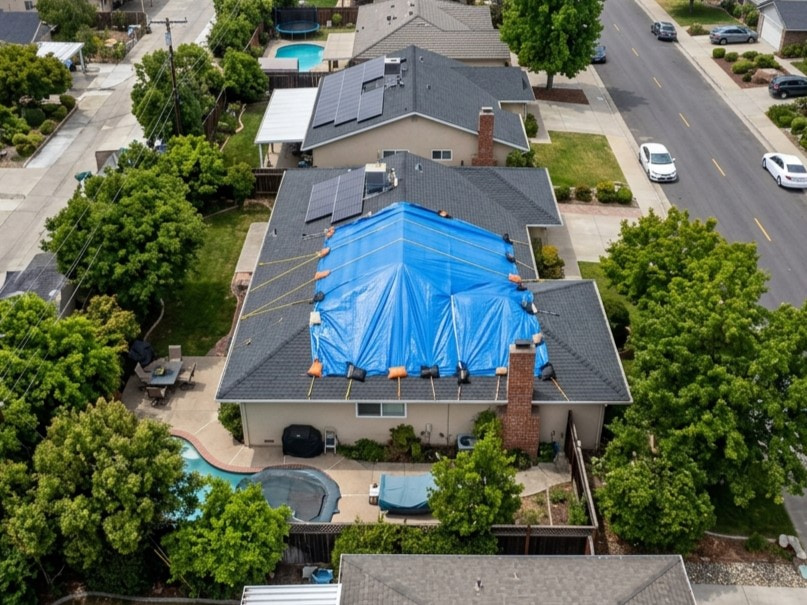
To temporarily cover a leaking roof, measure the damaged area, use a tarp that extends beyond the leak, place it so water runs from the roof ridge toward the gutter, and secure it with boards, cap nails, screws, or sandbags. Poor placement can guide water into the home.
- Measure the damaged area from a safe location. Add several feet on each side.
- Choose a larger tarp than the visible damage. If possible, run it over the roof ridge so water cannot flow under the top edge.
- Clear loose debris only if safe. Do not remove large branches or unstable materials yourself.
- Position the tarp with water flow in mind. Think ridge to gutter, not side to side.
- Secure edges with 2×4 batten boards, cap nails, deck screws, or sandbags. Avoid fastening through weak roof decking.
- Check for water pockets, loose grommets, flapping edges, and blocked vents.
- Take photos after installation for the insurance file.
Metal, tile, and low-slope roofs need extra care. Nailing into the wrong surface can cause more leaks.
What Materials Are Used for Temporary Roof Protection?
Temporary roof protection needs materials that can resist rain, sun, wind, and movement. A thin plastic sheet may help indoors, but it usually fails as an outdoor roof tarp. Heavy-duty materials, secure fasteners, and basic safety gear make the difference between short-term protection and added damage.
Common materials include:
- Heavy-duty polyethylene tarp: A stronger tarp helps resist tearing and punctures.
- UV-resistant tarp or quality tarps: These last longer in sun exposure than thin blue tarps.
- 2×4 batten boards: Boards spread pressure across the tarp edge and reduce tearing.
- Cap nails, roofing nails, or deck screws: These hold the tarp, but they must be placed with care.
- Sandbags, rope tie-downs, or ballast: These can help on some roofs where fasteners are risky.
- Ladder, gloves, non-slip shoes, and safety gear: These protect the safety line.
Heavier tarps often last longer, but they are harder to move in wind. If a tarp is too flimsy, it can tear, flap loose, and let water back in.
How Long Can a Roof Tarp Last Before Repairs Are Needed?
A roof tarp can last from days to several weeks, and sometimes longer, based on tarp quality, UV exposure, wind, roof pitch, and anchoring. It should still be treated as short-term protection. The risk rises when homeowners leave a tarp unchecked instead of scheduling repair work.
A good tarp buys time in the first week after storm damage. During that period, check for flapping edges, water pooling, loose fasteners, and new interior stains. These signs mean the tarp may already be failing.
Many disaster-response temporary roof systems, including blue roof programs used after major storms, are meant as short-term protection while homeowners arrange repairs. Sun, wind uplift, debris, snow load, and foot traffic can shorten tarp life.
The risk turning point comes when the tarp stops lowering damage and starts hiding it. Moisture may stay trapped under insulation or in the attic. That can lead to mold, hidden rot, and higher repair costs. Schedule permanent repair before the tarp shows obvious failure.
How Much Does Emergency Roof Tarping Cost and Will Insurance Cover It?
Emergency roof tarping usually costs about $175 to $700 for smaller jobs. Larger or urgent jobs may cost $1.00 to $2.80 per square foot, depending on roof size, pitch, access, tarp quality, and timing. After-hours storm calls can cost more. Many homeowners insurance policies may cover emergency tarping when it prevents further damage after a covered event.
| Cost Factor | Typical Cost Impact | Why It Matters |
| Small damaged area | $175–$700 | Common for minor leaks or limited shingle loss |
| Larger damaged area | $1.00–$2.80 per sq. ft. | More tarp, boards, fasteners, and labor are needed |
| Steep or high roof | Higher labor cost | Crews need extra safety setup |
| After-hours emergency | Extra service fee | Night, weekend, or storm response often costs more |
| Heavy-duty tarp | Higher material cost | Better tarp quality can last longer |
Insurance may cover roof tarping if the roof damage came from a covered cause, such as wind, hail, or a fallen tree. Take photos before and after tarping, keep receipts, and ask for a written invoice. Coverage depends on your policy, deductible, and documentation.
Common Emergency Roof Tarping Mistakes That Can Make Damage Worse
The biggest emergency roof tarping mistakes are using the wrong tarp size, placing it against water flow, anchoring it poorly, walking on unsafe areas, and failing to document damage. These mistakes can hurt the safety line, damage-control line, and insurance line during the same emergency.
- Using an undersized tarp: A tarp that barely covers the leak may let wind-driven rain enter from the edges.
- Nailing into damaged roof areas: Fasteners placed in weak decking may loosen, leak, or pull out during high winds.
- Creating water pockets: A sagging tarp can hold water. That weight can strain the roof and tear the tarp.
- Blocking vents or trapping attic moisture: Poor placement can reduce airflow and make hidden moisture worse.
- Waiting too long to call a contractor: Delays can lead to mold remediation, ceiling repair, or denied claim concerns.
- Skipping photos and receipts: Poor documentation can make it harder to show what happened and what you did to mitigate.
Acting imperfectly is less common than waiting too long. The best move is safe action with clear records.
Conclusion
Emergency roof tarping is a temporary protection step that can help protect your home after storm damage, a roof leak, fallen debris, or sudden roof failure. It should be handled through the three lines of defense: safety, damage control, and insurance documentation.
Stay off unsafe roofs. Take photos before and after tarping. Use proper materials. Watch for signs of failure. Then schedule a professional roof assessment and permanent repair as soon as possible.
A tarp gives you time. It should never become the repair plan.
You May Also Want to Read
You may also want to read:
- Emergency Roof Repair: What to Do When Disaster Strikes
https://relentlessroofingco.com/emergency-roof-repair-what-to-do-when-disaster-strikes/ - Signs You Need Roof Repair After a Storm
https://relentlessroofingco.com/signs-you-need-roof-repair-after-a-storm/
FAQs
How to emergency tarp a roof?
Emergency tarp a roof by measuring the damaged area, using a larger tarp, placing it from the roof ridge down, and securing it with boards, cap nails, screws, or sandbags. Do this only when the roof is safe. If the roof is steep, wet, sagging, or high, call a contractor.
How much does emergency roof tarping cost?
Emergency roof tarping cost depends on roof size, pitch, damaged area, urgency, access, and material quality. Some jobs are priced per square foot, while others use a flat emergency service rate. Ask for a written estimate, photos, and receipts for your insurance claim.
How to temporarily cover a leaking roof?
You can temporarily cover a leaking roof with a heavy-duty tarp that extends beyond the leak and sheds water toward the gutter. Inside the home, move belongings, place buckets, and use plastic sheeting. Do not climb the roof during severe weather or unsafe conditions.
How long will a 20 mil tarp last on a roof?
A 20 mil tarp may last longer than a thin consumer tarp, but lifespan depends on UV exposure, wind, debris, anchoring, and roof shape. Check it after storms and at least weekly. Treat it as temporary protection and schedule repair before it becomes brittle, loose, or torn.
Is emergency roof tarping safe for homeowners to do themselves?
Emergency roof tarping is safe for homeowners only in limited cases, such as small damage on a low, dry, stable roof with proper safety gear. It is not safe on steep roofs, wet shingles, metal or tile surfaces, sagging decking, power-line hazards, or active storm conditions.